Blogs
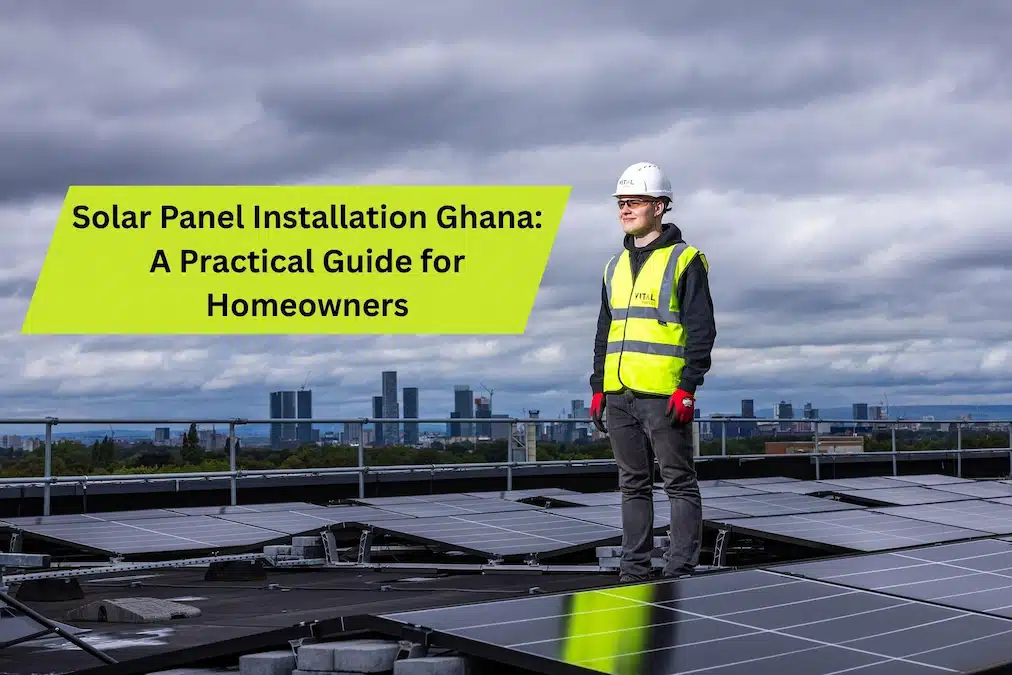
Solar Panel Installation Ghana: A Practical Guide for Homeowners
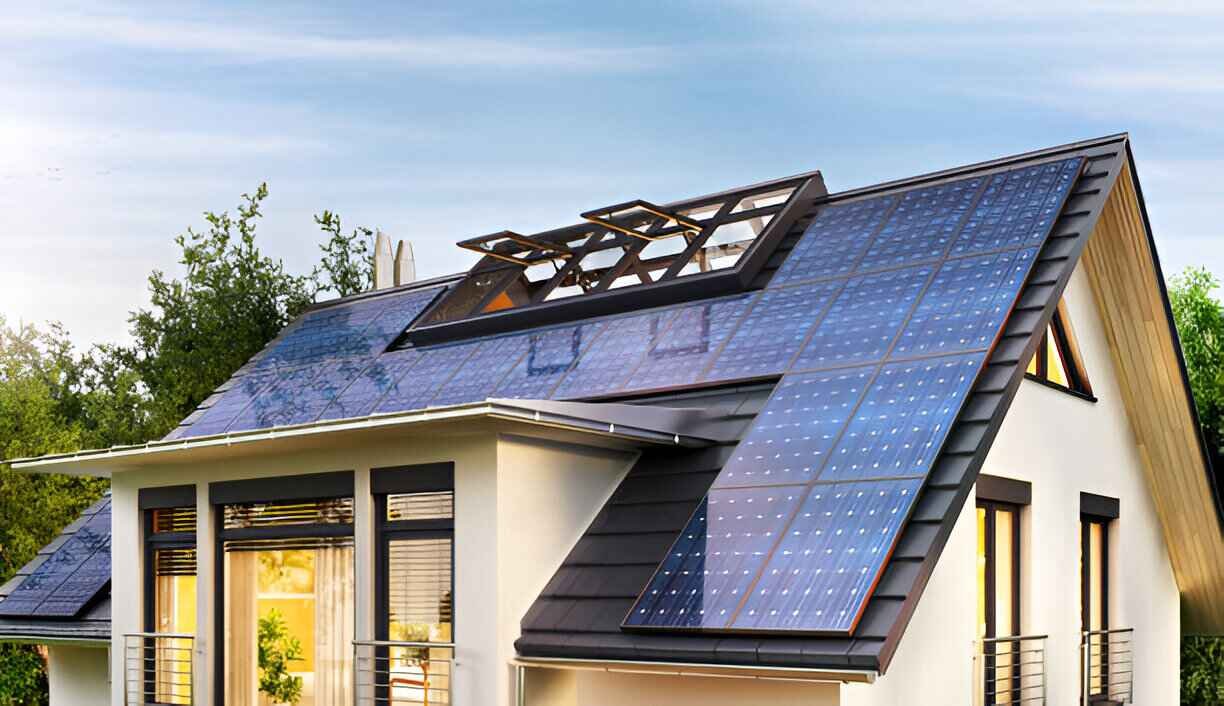
Solar Panel Installation Ghana: As solar energy gains popularity in Ghana, homeowners are increasingly seeking sustainable and cost-effective alternatives to traditional electricity sources. With abundant sunlight year-round, Ghana is in an ideal position to harness solar power. This practical guide will take you through the process of solar panel installation, from planning to maintenance
Why Solar Panels for Ghanaian Homes?
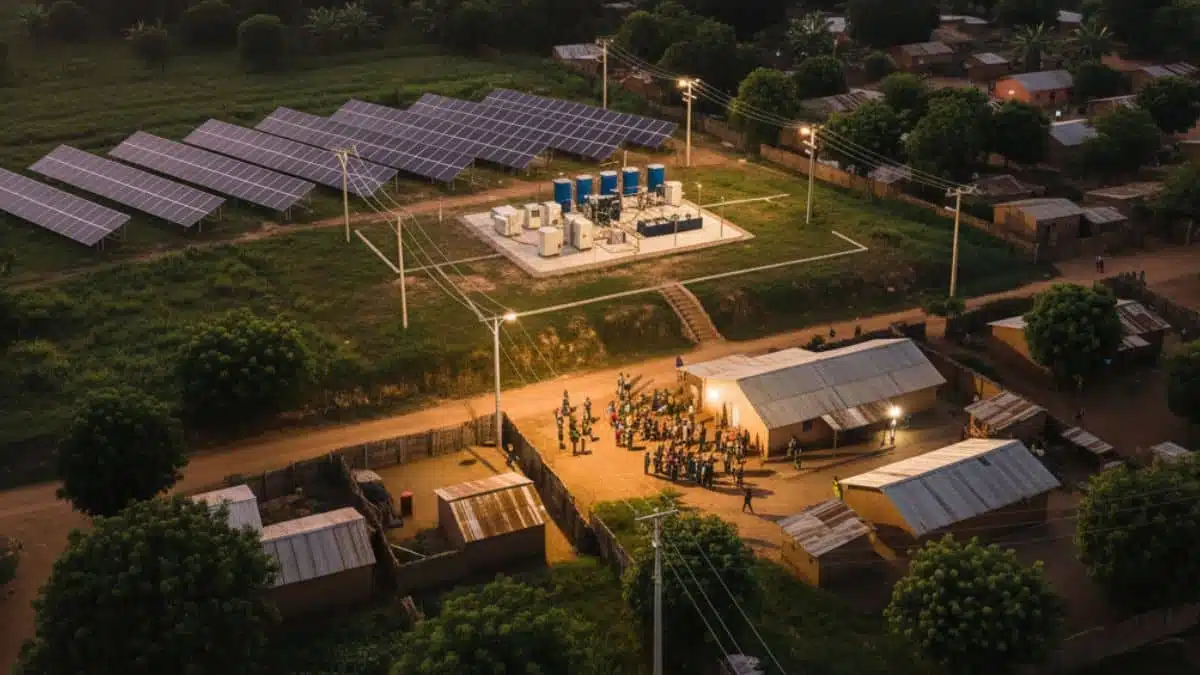
Ghana’s energy sector is often plagued by frequent power outages and high electricity costs, especially in rural areas. Solar energy offers a reliable and cost-effective solution, helping homeowners to:
-
Reduce Electricity Bills: Generate free energy from the sun and reduce reliance on the grid.
-
Increase Energy Independence: Solar panels reduce dependence on the national grid.
-
Contribute to Environmental Sustainability: Solar energy is a clean, renewable resource that benefits the planet.
Key Benefits of Solar Energy
-
Lower Costs: Solar panels significantly reduce monthly electricity bills.
-
Reliability: Solar power is less affected by grid failures, providing a stable power source.
-
Eco-Friendly: Solar energy is renewable and reduces carbon emissions.
-
Increased Property Value: Homes with solar panels are more attractive to potential buyers due to their energy efficiency.


Step-by-Step Guide to Solar Panel Installation in Ghana
Step 1: Assess Your Home’s Solar Potential
Before installing solar panels, it’s essential to evaluate your home’s solar potential. Key factors include:
-
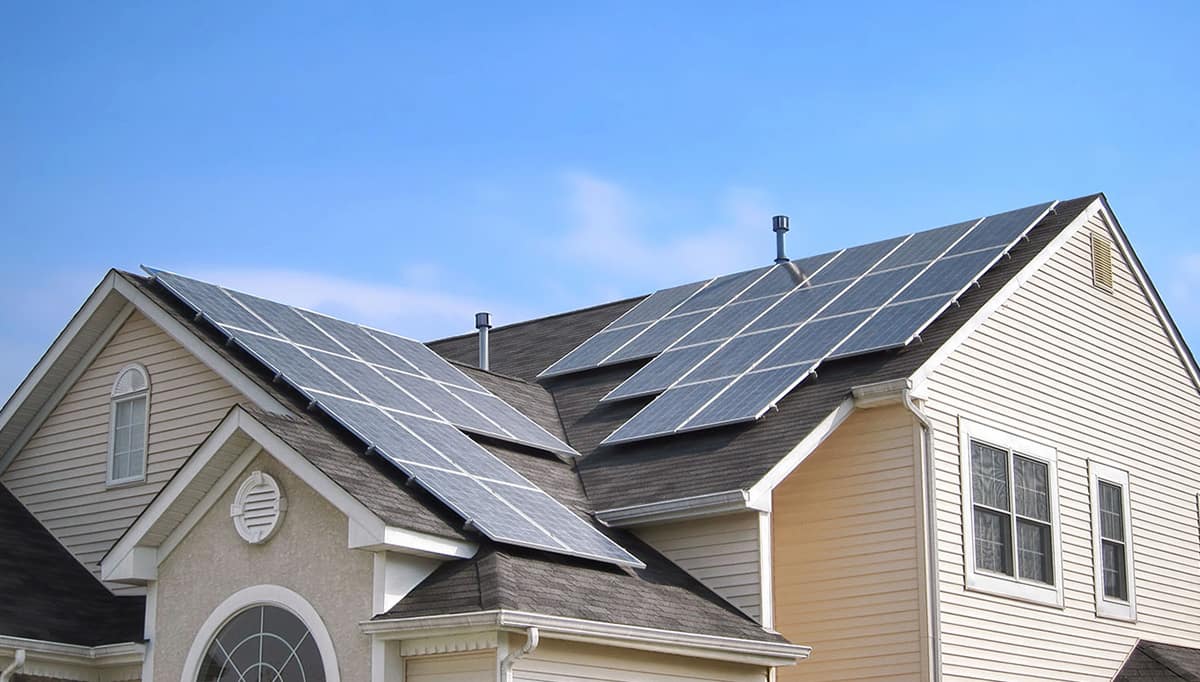
Roof Orientation: In Ghana, north-facing roofs are ideal for optimal solar energy capture.
-
Roof Size: Larger roofs accommodate more panels and higher energy output.
-
Shading: Ensure no trees or structures cast shadows on the roof to maximize panel efficiency.
-
Roof Pitch: The ideal roof pitch is between 15 to 30 degrees for maximum sunlight exposure.
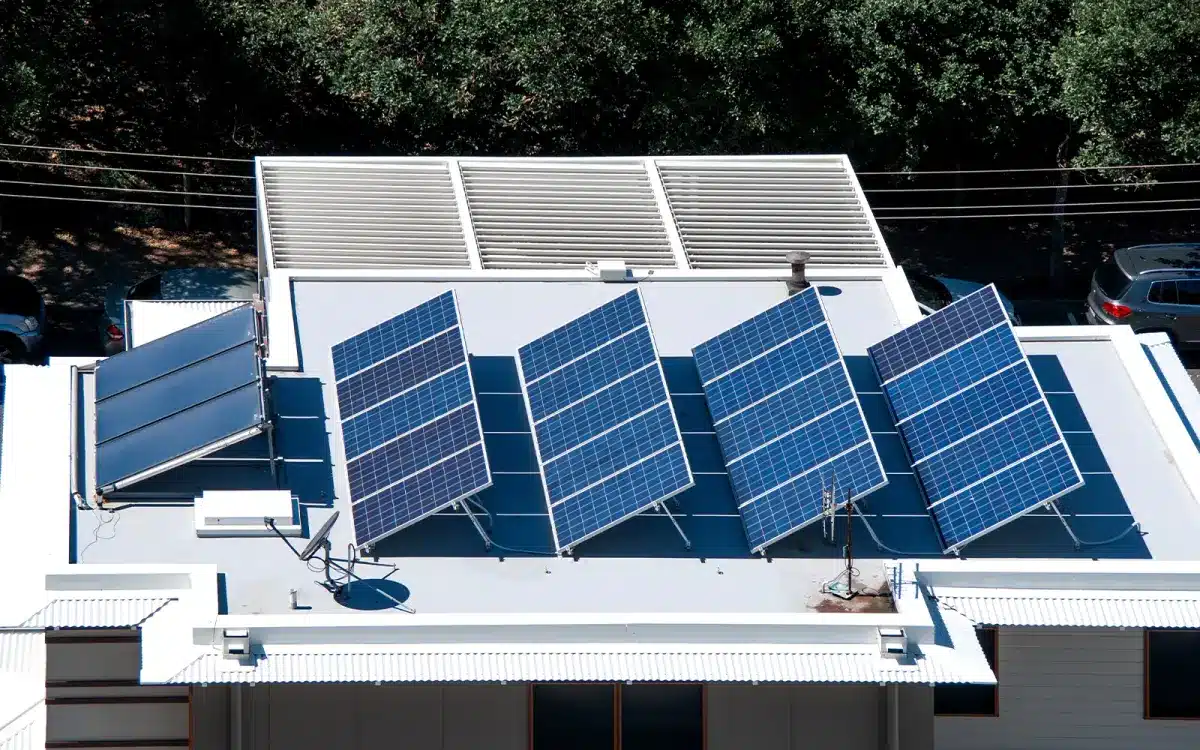
Step 2: Choose the Right Solar Panels
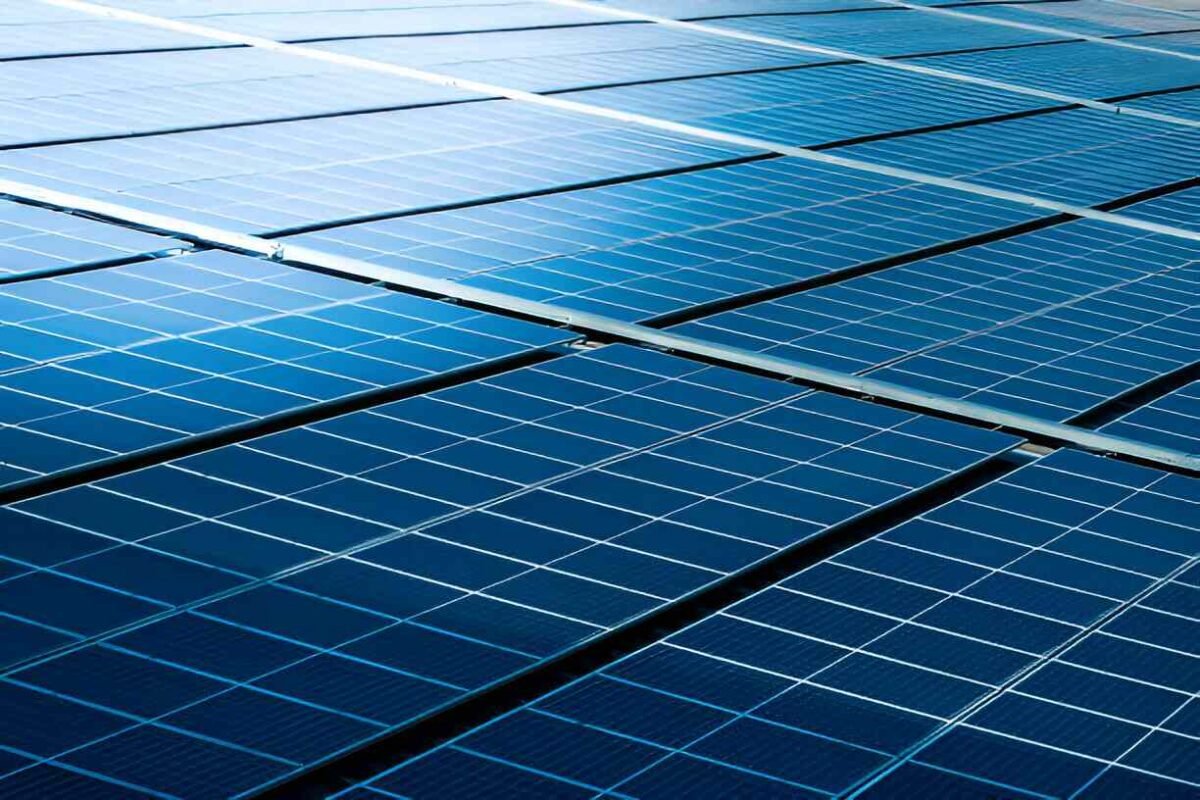
Several types of solar panels are available, each offering varying efficiency and costs:
-
Monocrystalline Panels: Highly efficient and durable, ideal for homes with limited roof space but come at a higher price.
-
Polycrystalline Panels: More affordable but slightly less efficient, suitable for homes with ample roof space.
-
Thin-Film Panels: Lightweight and flexible, suitable for larger installations, but less efficient than crystalline panels.
Choosing the Right Panel
The best option depends on your roof space and budget. Monocrystalline panels are ideal for smaller roofs with limited space, while polycrystalline panels are great for larger roofs.
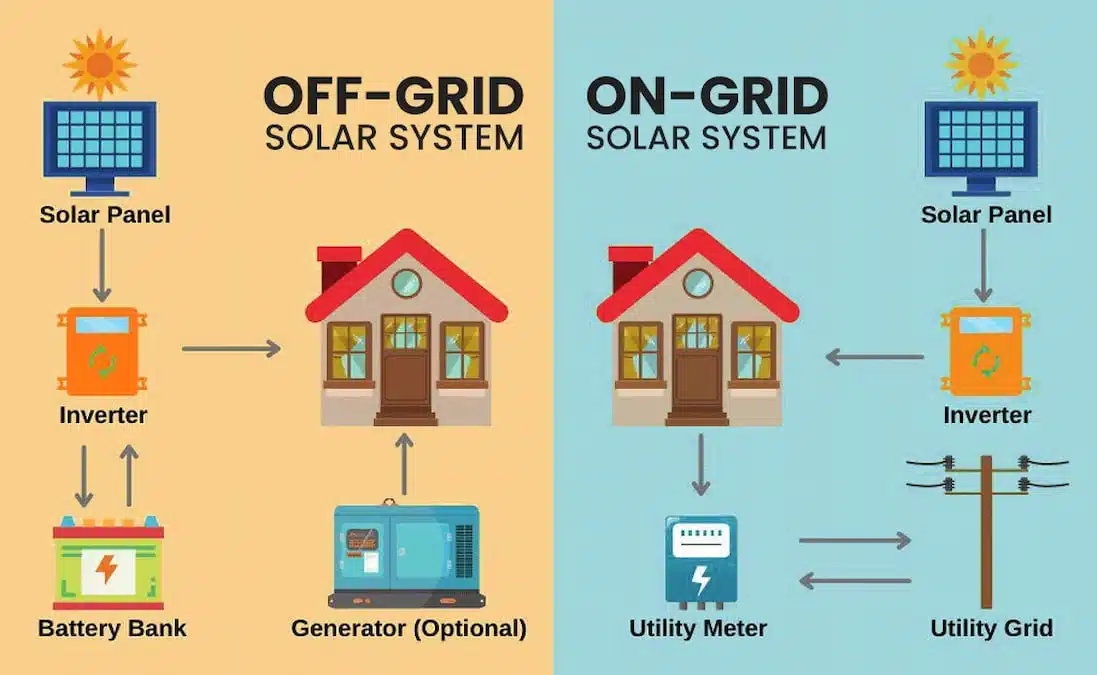
Step 3: Select the Right Inverter and Battery Storage
-
Inverters convert DC electricity from solar panels into AC electricity used by your home.
-
String Inverters: Cost-effective and ideal for homes with uniform roof slopes and minimal shading.
-
Microinverters: Installed on each panel, ideal for roofs with shading or complex angles to optimize each panel’s performance.
-
-
Battery Storage
Solar batteries store excess energy for use at night or on cloudy days. Lithium-ion batteries are the most efficient and durable but come at a higher cost. Lead-acid batteries are cheaper but require more maintenance and have a shorter lifespan.
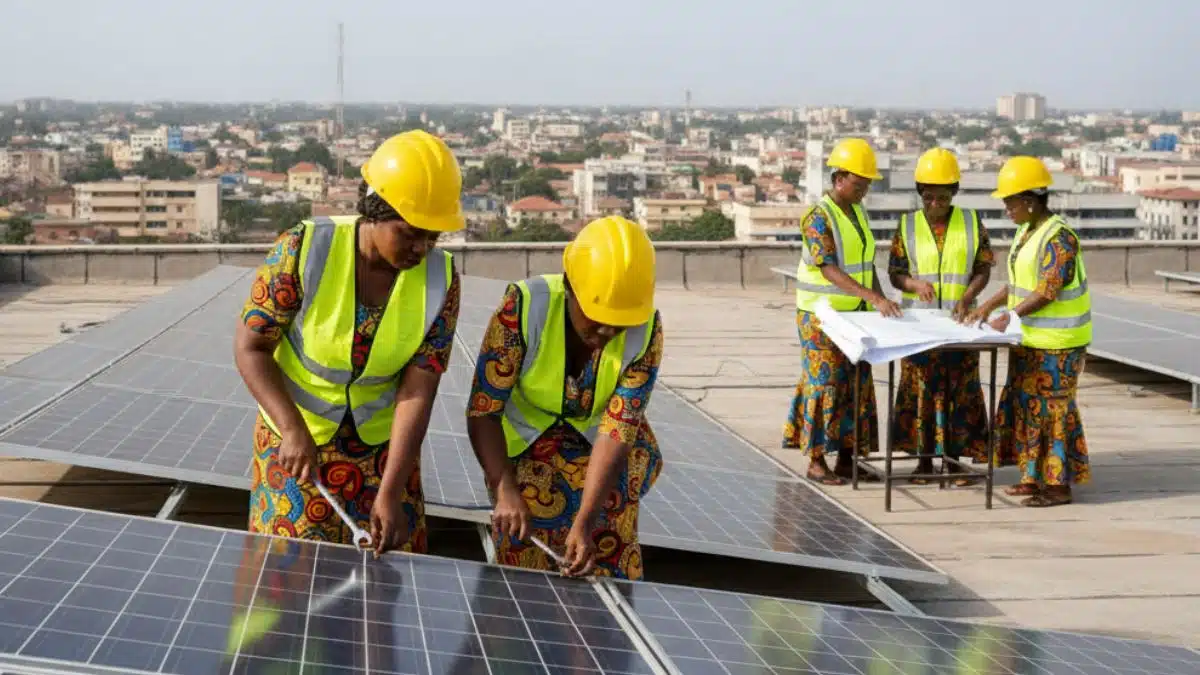
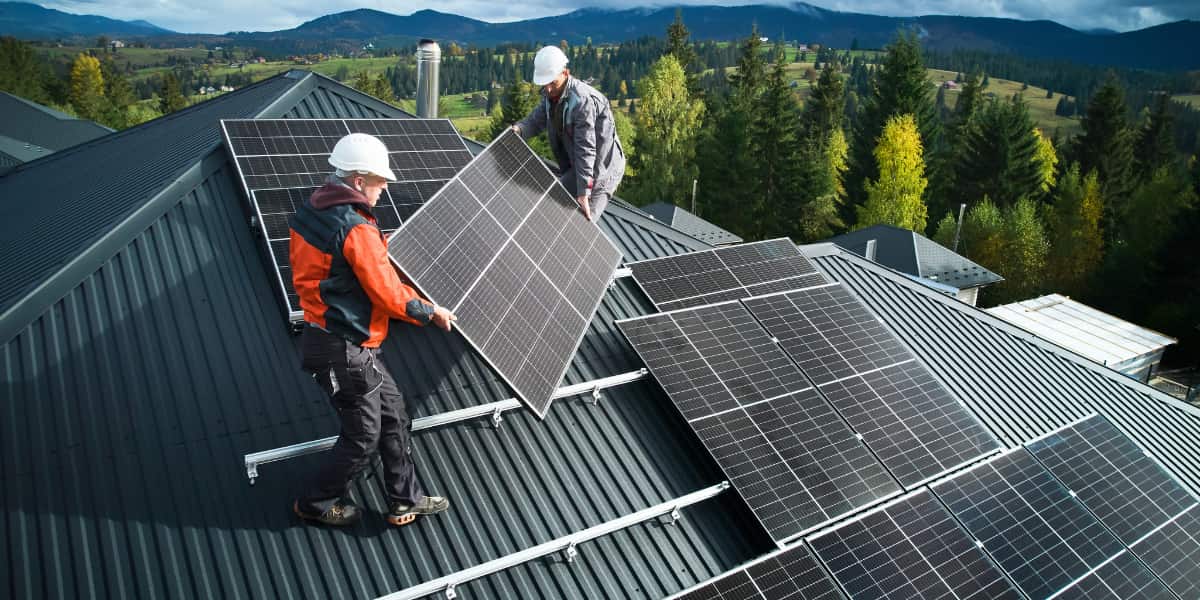
Step 4: Find a Qualified Solar Installer
Hiring a certified solar installer is crucial for ensuring a smooth and efficient installation. Look for the following when choosing an installer:
-
Certification: Ensure the installer is certified by the Energy Commission of Ghana.
-
Experience: Choose an installer with a proven track record. Check reviews or ask for references.
-
Warranty and Support: A reputable installer should offer a warranty for both the panels and installation, ensuring support in case of issues.
Step 5: The Solar Installation Process
Solar panel installation typically takes 2 to 5 days, depending on system size and roof complexity. The process involves:
-
Site Assessment: The installer inspects your roof and energy needs to determine optimal panel placement.
-
Panel Installation: Solar panels are securely mounted using a racking system.
-
Inverter Setup: The inverter is installed and connected to the solar panels.
-
Wiring and Connection: The system is wired into your home’s electrical grid, and a professional checks that everything is working properly.
Step 6: Maintain Your Solar System
Once installed, your solar system requires minimal maintenance. However, periodic cleaning and checks will ensure peak performance. Follow these maintenance tips:
-
Clean Panels: Dust and debris can reduce panel efficiency. Clean panels with water and a soft cloth every few months.
-
Inspect Panels: Regularly check for visible damage, and contact your installer for repairs if necessary.
-
Monitor System Performance: Use monitoring tools to track energy production and detect issues early.
Step 7: Enjoy the Benefits of Solar Energy
After installation, you’ll start reaping the benefits, including:
-
Reduced Electricity Bills: Solar panels generate free energy, significantly lowering electricity costs.
-
Energy Independence: Your reliance on the national grid will decrease, offering more control over energy use.
-
Environmental Impact: By using solar energy, you’re contributing to a cleaner, greener environment.
Conclusion
Installing solar panels in Ghanaian homes is a wise and sustainable choice that offers long-term financial and environmental benefits. By following the steps outlined in this guide – assessing your home’s solar potential, selecting the right panels and equipment, hiring a qualified installer, and maintaining your system – you can ensure a successful and efficient solar installation. Solar energy not only helps reduce electricity bills but also provides reliable power while supporting global sustainability goals.